James Hardie Site Prep & Utilities: The San Jose Owner’s Guide
If you’re mid-build or mid-retrofit on a James Hardie exterior and the site prep or utility connection phase is stalling things out, here’s the straight answer: we stock the fasteners, flashing, trim accessories, and utility-connection hardware that James Hardie siding and trim systems require, and most site-prep corrections in San Jose run $450 – $1,400 installed, depending on what failed and how much subsurface or penetration rework is involved. The typical discovery moment is blunt: a window leak shows up after the first real rain, or a hose bib sat proud of the new siding and now there’s a slow drip behind the panel. You notice it not because you were looking for it, but because water ended up somewhere water shouldn’t be.
We’d rather walk you through what this part actually does before you commit to a fix. Tell me what you actually need the space to do – then we’ll figure out what makes sense to build. Same logic applies when the problem is a failed utility penetration or a site-prep detail that got skipped: figure out the function, then fix the mechanism, not just the symptom.
Which James Hardie Models This Applies To
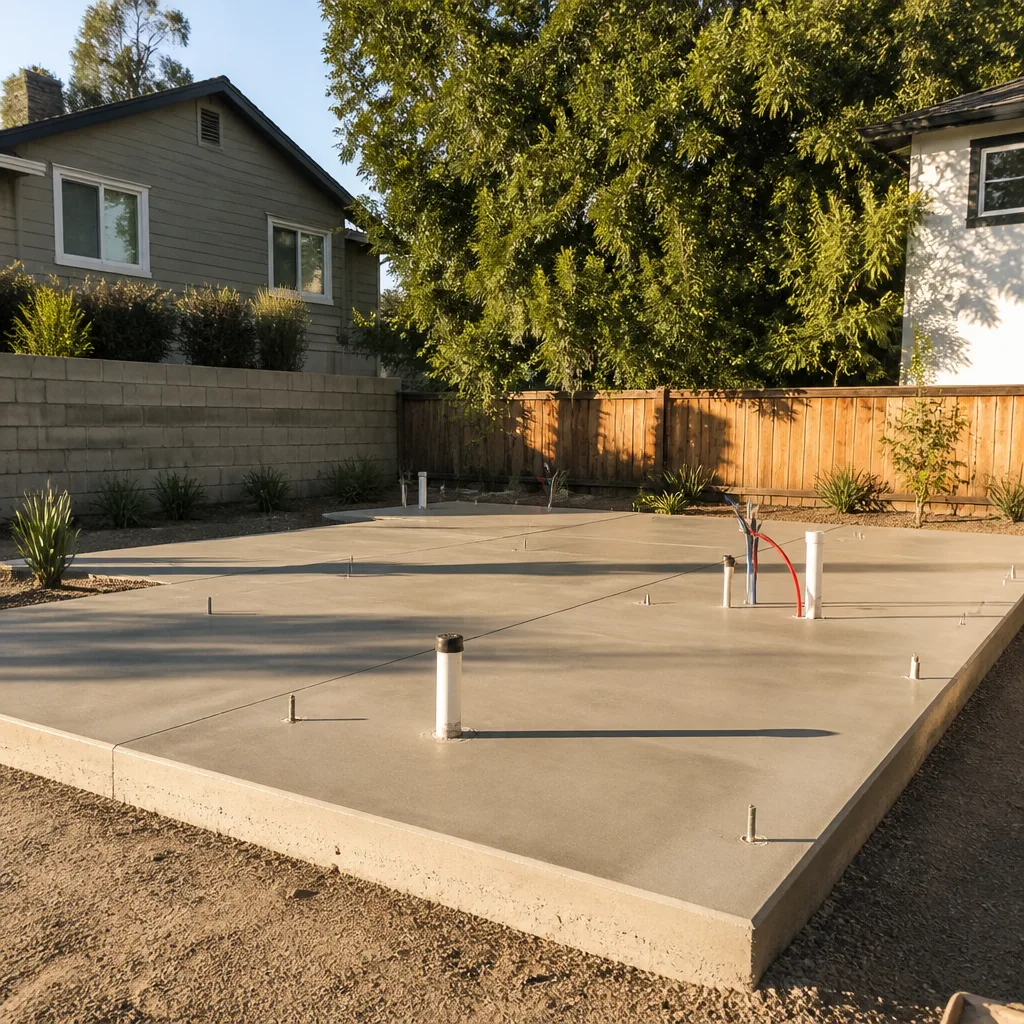
James Hardie site prep and utility integration isn’t tied to one product line the way a replacement board might be. What matters is the accessory spec and the installation condition, because the failure mode shifts depending on which system you’re working with. Here’s the practical breakdown for San Jose homes:
- HardiePlank lap siding (HZ5 and HZ10): The most common failure point is the butt joint at utility penetrations, where the flashing was either skipped or cut wrong. If the hose bib or exterior outlet was installed before the siding, you’ll see a visible gap or caulk-only seal that starts to open within two seasons.
- HardiePanel vertical siding: Panel joints meet windows and utility boxes differently, and the seams above exterior outlets are where we see most of the water intrusion on these builds. Panel expansion in San Jose’s hot summers is real; the gap spec is 1/8 inch, and if a penetration box was tight-jointed, it binds.
- HardieTrim boards (5/4 and 4/4 profiles): These stiffen window openings and corners, but they’re also where a utility line chases through the wall. Cutting the trim to accommodate the penetration without a proper back-flashing detail is a very common source of rot and re-call.
- HardieSoffit and HardieBacker: Less common for utility work, but when they’re involved it’s usually at the panel or vent transition, and the fix is about air sealing and moisture barriers, not the board itself.
The OEM-vs-aftermarket question comes down to flashing and sealants, not the boards themselves. Hardie’s own joint flashing and accessory products work, and in most San Jose applications a quality aftermarket equivalent is perfectly fine, as long as it meets the material compatibility spec for the substrate. What you don’t want is a mismatched sealant that cures hard against a fiber cement joint that’s meant to move. That’s the single biggest avoidable failure we see on repairs done by someone else.
Signs Your James Hardie Site Prep & Utilities Is Failing
Here are the five symptoms that show up most often on San Jose homes, and what each one is actually telling you:
- Water staining below a hose bib, electrical outlet, or exterior light box. The penetration flashing was either omitted or taped in a way that lets water track behind the panel. The stain is the last visible step; the sub-structure damage usually starts months earlier.
- Caulk that keeps cracking around utility boxes. James Hardie panel and trim expand and contract at a different rate than metal or plastic utility boxes. A sealant that can’t flex at least 25% of the joint width will split within one San Jose season.
- A horizontal trim seam that has opened to more than 1/8 inch above a window or door. The required gap is 1/8 inch. When it’s wider, water pressure drives moisture into the joint under heavy rain, and the gap grows with each thermal cycle.
- Soft spots or bubbling paint at the bottom edge of a panel near grade. Site prep issue, not a siding issue. If the ground line wasn’t graded away from the wall, or the 6-inch minimum clearance to grade got buried under mulch or pavers, water wicks upward continuously.
- A persistent musty smell inside a wall cavity behind an exterior outlet or hose bib. This is the one that gets ignored the longest because it’s olfactory and intermittent. By the time you smell it consistently, the sheathing behind the panel has been wet for at least a season.
None of these are cosmetic. Every one of them is water getting a toehold somewhere it should never be, and in San Jose’s wet winters, the failure accelerates fast.
Replacement Cost & What’s Included
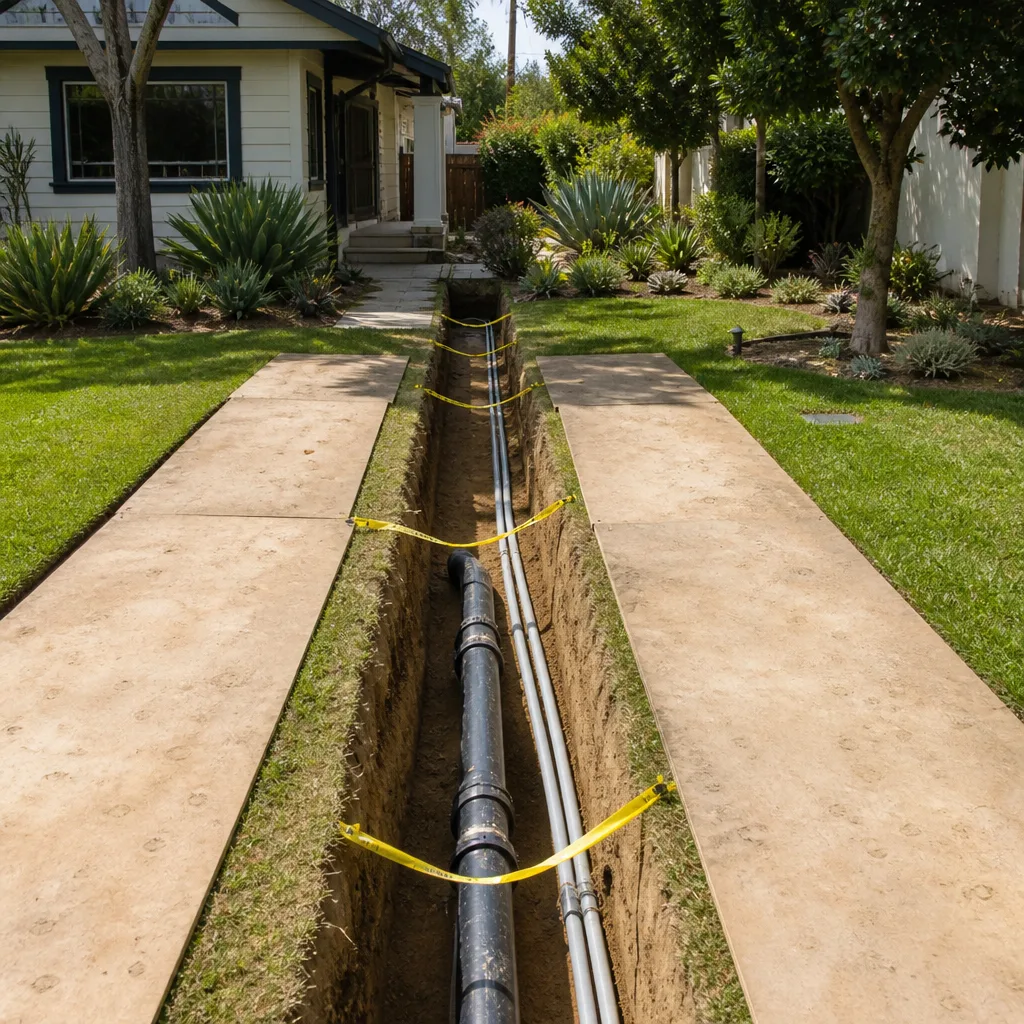
For San Jose homes, here’s the installed price reality, and what pushes a job toward the higher or lower end:
- Single utility penetration re-flash (hose bib, outlet, light box): $180 – $420
- Multiple penetration correction plus section of HardiePlank replaced: $420 – $850
- Full accessory re-flash around windows and utility runs, with trim replacement: $700 – $1,400
- Grade correction at the foundation line with panel re-seal: $450 – $1,100
What drives the spread is access and existing damage. If we can correct the flashing without pulling any boards, you’re at the low end. If the sheathing or framing behind the panel shows rot, the price climbs because we’re replacing structure, not just sealing it. Every job gets a written price with parts and labor broken out before we start, and the work falls under our 365-Day Done Right Promise. If the fix doesn’t hold for a full calendar year, we come back and make it right at no charge.
DIY or Call Us?
There’s a safe middle ground here. You can absolutely inspect your own utility penetrations with a flashlight, a ladder, and a garden hose on a dry day. Look for cracked caulk, missing flashing, daylight visible through a joint, or staining below the box. That part is free and worth doing twice a year in San Jose, once before the rainy season and once after.
What we’d caution against is pulling the siding or trim yourself. These panels are heavy, the saw cuts create silica dust you don’t want in your lungs, and a wrong reinstallation can void the James Hardie warranty on your product. It’s also easy to miss the moisture barrier repair behind the panel. If the failing part is a flashing detail around any utility penetration, the safe move is to have the repair done by someone who’s done it hundreds of times. We’re happy to be that someone. Call (669) 444-4530 and we’ll do the walkthrough before we quote a number.
FAQs
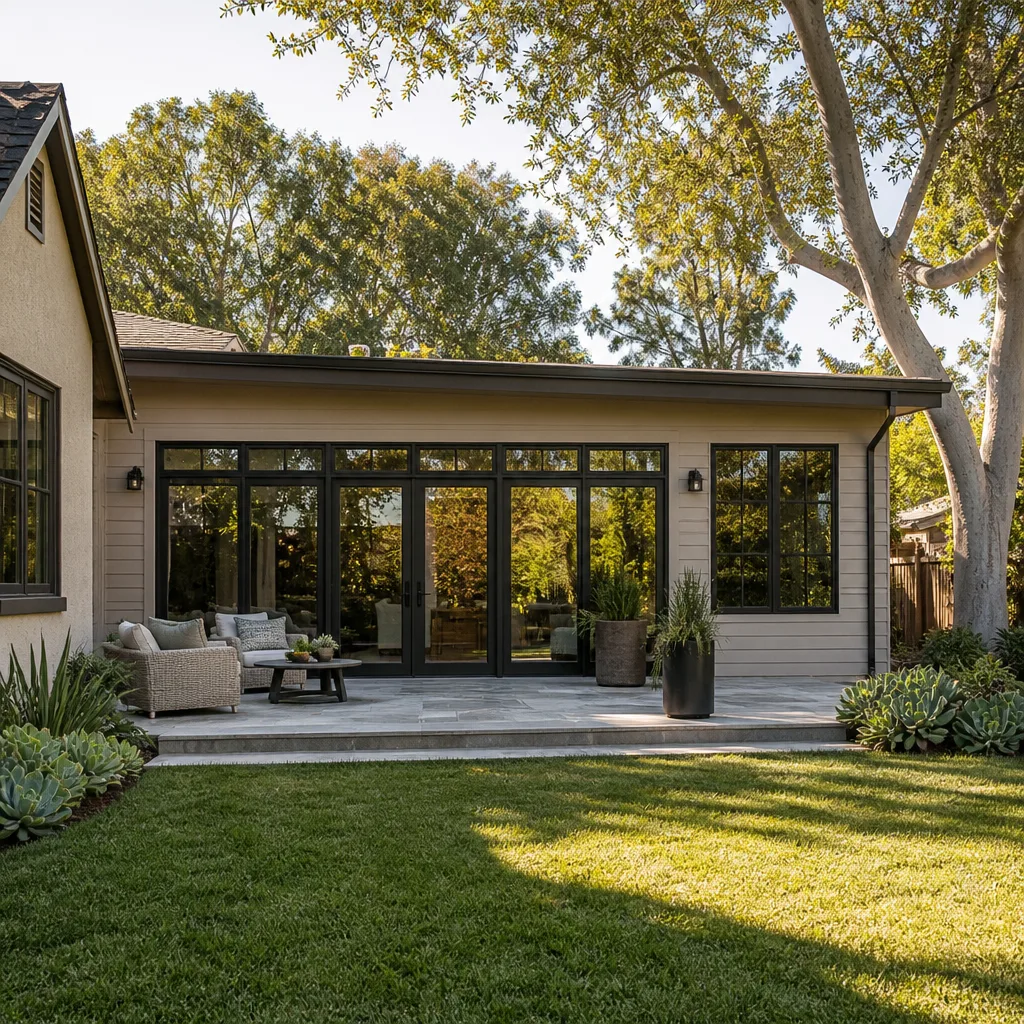
Properly installed flashing and penetration seals should last 20 – 30 years in the San Jose climate, but sealant at utility boxes typically needs inspection and minor renewal every 5 – 10 years even when everything else holds. We’ve seen failures in as little as two seasons when the original installer skipped the back-flashing step, so the lifespan depends heavily on whether the foundational detail was done right.
If you’re not sure what you’re looking at, call (669) 444-4530 and we’ll tell you honestly during the walkthrough.
In many cases, yes. A single penetration with intact surrounding boards can usually be re-flashed without full panel replacement, which is why some of our fixes come in under $300. What can’t be repaired is a deeply wet sheathing layer or a trim board that has begun to soften and crumble; that material comes out and gets replaced with fresh product matched to your existing James Hardie color.
The only way to know which camp you’re in is a quick look. Estimates are free, and we’ll give you a number before anything gets cut.
Most single-penetration corrections are done in one day, including removal, re-flash, sealing, and touch-up paint. Multi-penetration jobs or jobs that require panel replacement around windows typically run two to three days. Grade correction work depends on the extent of the substrate issue, but most San Jose homes see completion within a week. We’ll tell you the timeline at quoting, not after work has started.
Call (669) 444-4530 to schedule a walkthrough and get a written scope and timeline.
Yes. Our San Jose crews carry James Hardie-compatible flashing, joint sealant, fasteners, and the common 5/4 and 4/4 trim profiles in stock, along with the moisture barrier materials needed to restore the wall assembly behind the panel. If a job requires a special-order color or an uncommon texture, we’ll order it and get it on the truck before the scheduled install day, not after.
If you want to confirm we can match what you have on the wall, call us with a photo or a sample piece. We’ll tell you before you commit to anything.
If your James Hardie exterior is failing around a utility penetration or the site prep wasn’t right from the start, we’ll diagnose it plainly, quote it honestly, and fix it under a written one-year guarantee. Sutton ADU San Jose also carries parts and installation experience for Abodu, Cover, and Dvele ADU systems, so if your James Hardie issue is part of a bigger build or accessory dwelling unit, we can scope that in the same visit. Call (669) 444-4530 to schedule your free estimate.
Written by Miles Hartwell, Owner, Sutton ADU San Jose at Sutton ADU San Jose, serving San Jose and nearby areas.