Tuff Shed Garage Conversion ADU: The San Jose Owner’s Guide
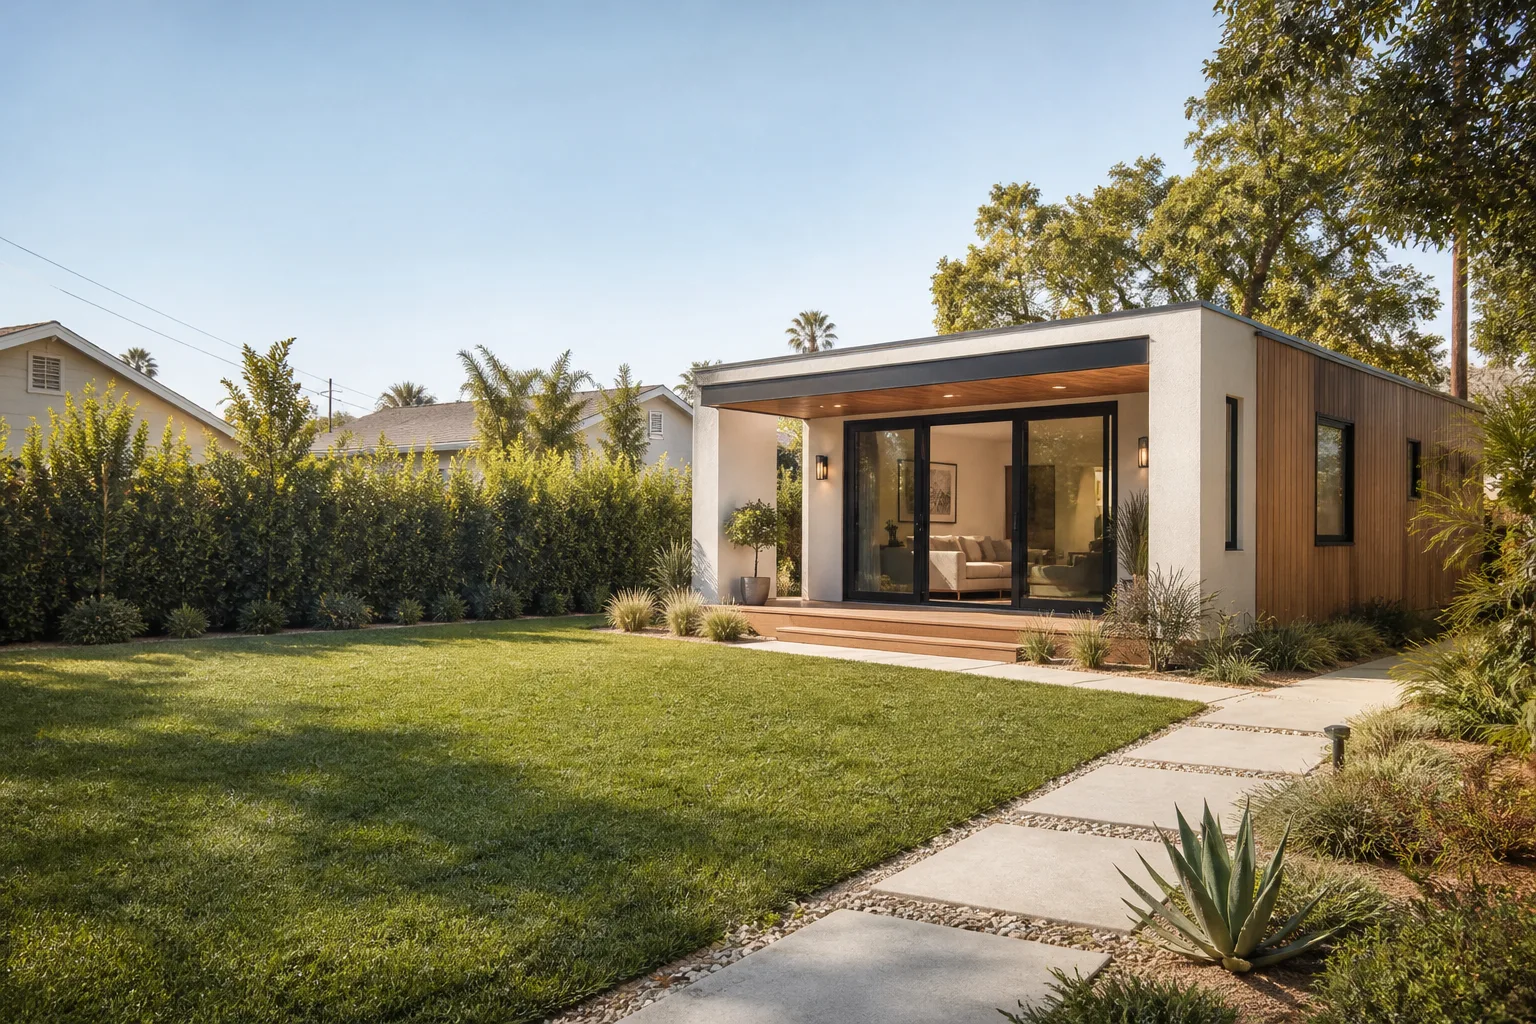
If you own a Tuff Shed in San Jose and you’re planning to convert it into an ADU, you’re likely dealing with one of two realities: your structure is either failing at key connection points, or you’re realizing the stock components aren’t up to code for a dwelling unit. We stock and install Tuff Shed-compatible garage conversion parts throughout San Jose, with most structural upgrades running $4,000 to $12,000 depending on what your specific shed needs to meet California residential code. Most owners discover the problem when they notice moisture wicking up the wall studs or a door frame that’s pulling away from the wall after a wet winter.
This guide covers the parts that actually matter: floor framing, wall-to-floor connections, roof load capacity, and door framing. You’ll learn which Tuff Shed models have known weak points, what fails first in San Jose’s climate, and what it honestly costs to fix it before you start hanging drywall.
Which Tuff Shed Models This Applies To
Tuff Shed builds a range of structures, but the ones we see converted most often in San Jose are the Premier Pro Series, the Premier Ranch, and the Sierra Series. These three account for maybe 80% of the garage-to-ADU conversions we walk through. The Premier Pro Series is the most common starting point because it’s the only line Tuff Shed builds with upgraded wall studs and a floor system that can be reinforced without a full rebuild.
Here’s the compatibility gotcha most owners don’t discover until permit review: Tuff Shed’s Premier Ranch and Sierra Series use a 2×4 wall framing system with studs spaced 24 inches on center in some runs, which is fine for storage but does not meet California’s residential energy code (Title 24) for an ADU without adding insulation depth. You either need to fur out those walls to 2×6 depth, or reframe sections entirely. The Premier Pro Series, by contrast, is built on 2×6 floor joists and can typically take the additional weight of drywall, insulation, and a mini-split without structural reinforcement. That difference alone can swing your conversion budget by $8,000 to $15,000 in San Jose.
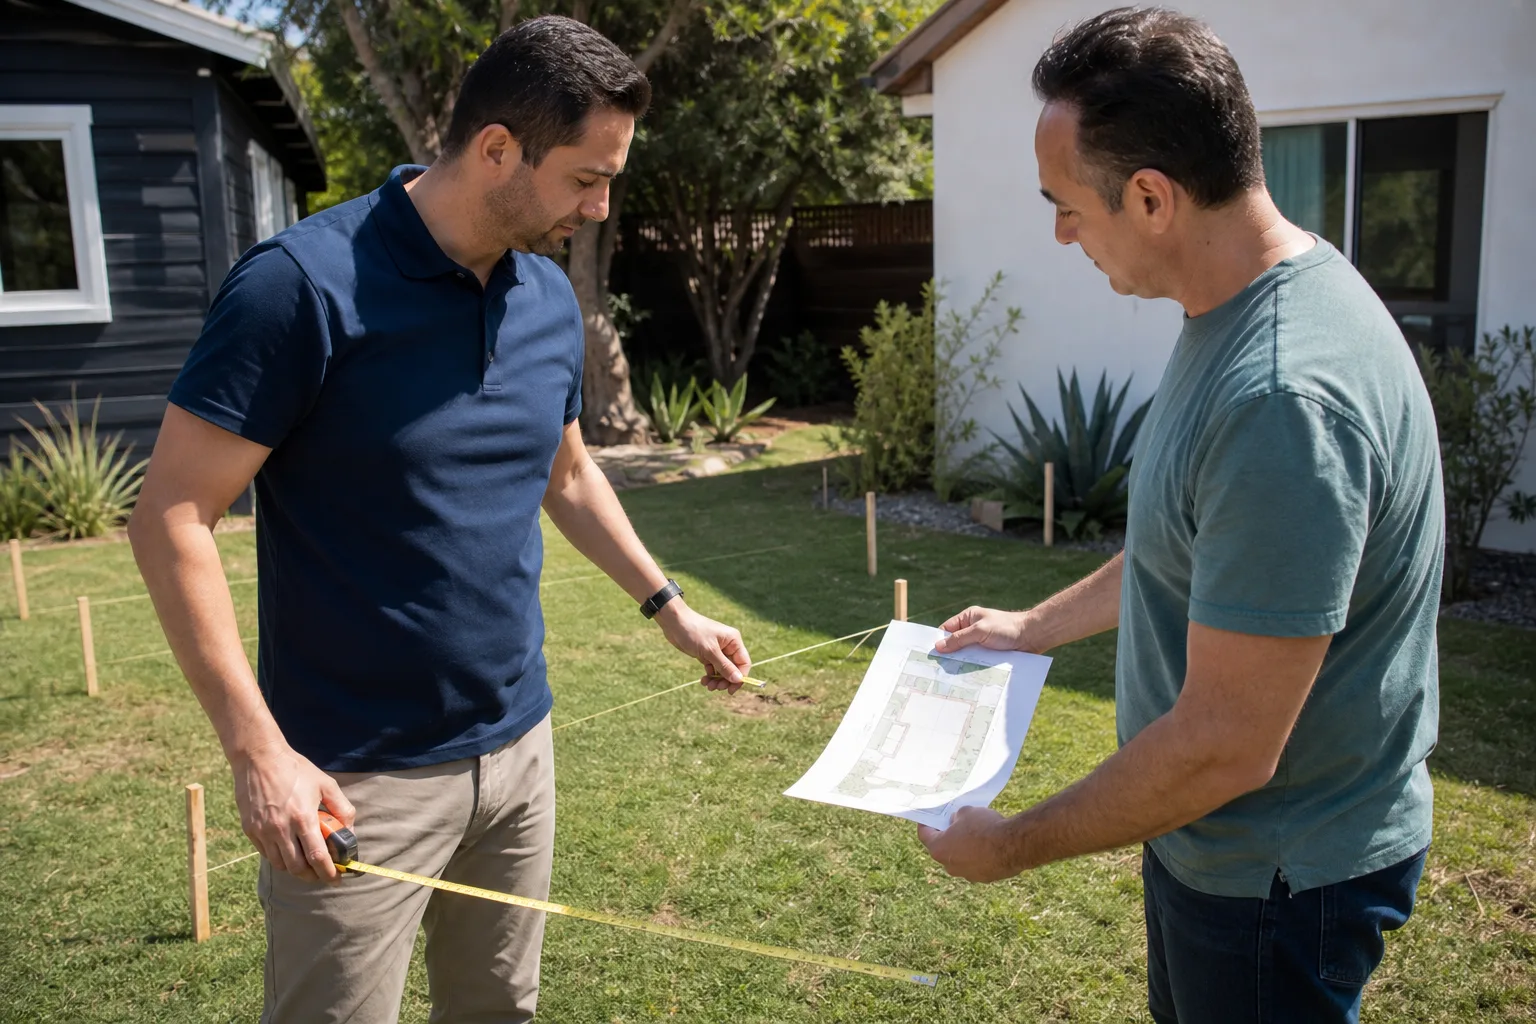
When you call us, we’ll ask for the model name stamped on the inside of the door frame, and if that’s worn off, we measure the stud spacing and floor joist depth on site. For OEM versus aftermarket: Tuff Shed’s own replacement parts match your structure precisely, but we honestly recommend quality aftermarket PT lumber and Simpson Strong-Tie connectors for anything that carries structural load. The aftermarket hardware is stronger than what your shed shipped with, and it’s what the San Jose building department wants to see on the plan.
Signs Your Tuff Shed Garage Conversion ADU Is Failing
- Door frame pulling away from the wall at the top corners. This is almost always a wall-to-floor connection problem. The original anchor bolts or screws weren’t rated for the racking forces a shed gets in San Jose’s wind seasons, and the wall is slowly leaning. If you can slide a credit card between the door jamb and the wall stud, the connection point is compromised.
- Soft spots in the floor near the entry or along the back wall. Water intrusion at the sill plate is the usual culprit. Tuff Shed floors sit on pressure-treated runners, but over time in San Jose’s wet winters, capillary action wicks moisture into the rim joists, and you’ll see rot at the corners first. If the floor deflects under foot, it’s not a cosmetic issue.
- Visible sag in the roofline when viewed from the street. Most Tuff Shed roof systems are designed for 15 to 20 pounds per square foot of live load, but a San Jose ADU with drywall and insulation adds weight the original trusses weren’t sized for. A sag of even half an inch over an eight-foot span is a sign the ridge beam needs reinforcement.
- Gaps opening between the wall panels at the top plate. This happens when the shed was never designed to handle the expansion and contraction cycles of an occupied, conditioned space. You’ll see it most in the first year after you add a mini-split, because the walls are now seeing temperature swings they never did as a storage shed.
- Moisture stains or mold bloom on the interior wall sheathing. Tuff Shed wall cavities weren’t built with a vapor barrier or ventilation pathway. Once you add insulation and conditioned air, condensation forms inside the wall cavity. Left unchecked, this rots the studs from the inside out within two to three years in San Jose’s climate.
Replacement Cost & What’s Included
The honest installed price for Tuff Shed structural upgrades in San Jose runs $4,000 to $12,000, and here’s what drives that spread.
At the low end, you’re looking at floor reinforcement and wall-to-floor anchor upgrades on a Premier Pro Series shed that’s in fundamentally sound shape. That’s two to three days of work, mostly PT lumber, Simpson connectors, and the labor to lift and re-set the walls. At the high end, you’re reframing wall sections, adding an engineered ridge beam, or replacing rotted rim joists on a Sierra or Premier Ranch that should have been upgraded before it was ever insulated.
What drives the price in San Jose specifically is the permit review. Santa Clara County wants structural calculations on any change to load-bearing framing, and that engineer’s letter adds $800 to $1,600 depending on how much of the structure you’re touching. We include the permit drawings, the engineer’s review, and the inspection in our written price.
Parts and labor are itemized separately on every quote, and the price we hand you before work starts is the price you pay at the end. If a section of rim joist is worse than we thought once the wall is open, we show you a photo and a line-item change before we proceed, not a surprise at the end. The workmanship is covered by our 365-Day Done Right Promise: if anything we touched fails within a full calendar year, we come back and make it right.
DIY or Call Us?
Some checks are safe to do yourself, and I’ll tell you exactly what they are. Look at the anchor points where your shed walls meet the floor. If you see rust staining or the bolts are pulling through the wood, that’s information worth having. Check the roofline from the street in the morning light, when a sag is most visible. Look for moisture stains on the interior face of the wall sheathing after a rain.
What I would not do yourself is lift the walls, replace anchor hardware, or reframe any load-bearing section. That’s where DIY conversions go wrong, and the failure mode isn’t a cosmetic one. A wall that’s not properly anchored to the floor can rack and collapse under seismic load, and San Jose is solidly in seismic zone territory. Structural framing, especially on a building that people will sleep in, is not the place to save money with a weekend project.
If you’re not sure whether your shed’s condition is cosmetic or structural, call us at (669) 444-4530 and ask for a walkthrough. We’ll tell you honestly whether it’s worth upgrading or whether you should start fresh with a different structure.
FAQs
An unmodified Tuff Shed used for storage typically lasts 15 to 25 years in San Jose, but the moment you convert it to a conditioned ADU, you’re accelerating every failure mode it was never designed for. Expect the moisture and connection issues we describe above to show up within 2 to 5 years unless you do the structural upgrades first. Call (669) 444-4530 and we’ll assess what your specific shed needs before you spend money on insulation and drywall that will only hide the problem.
If the walls are still plumb and the floor framing is intact, it can almost always be repaired and reinforced. The exception is widespread rim joist rot or any racking in the wall framing that’s moved more than a quarter inch. We’ll tell you which situation you have in the first hour of the walkthrough, and we won’t recommend a repair if a replacement is the honest answer. Estimates are free, so you have nothing to lose by getting a professional read.
Floor reinforcement and anchor upgrades on a Premier Pro Series typically take two to three working days. Wall reframing and ridge beam installation run five to seven days, plus whatever time the San Jose permit office needs to review the plan. We’ll give you a written timeline before we start, and we’ll keep it current if something at the permit desk shifts.
We stock the common structural hardware on our service trucks: Simpson Strong-Tie anchors, PT lumber in standard dimensions, and framing connectors for the Tuff Shed models we work on most. Odd-size lumber or custom engineered beams are ordered per project and delivered to your San Jose address before the crew arrives. We also keep a running inventory of parts for other brands we service, including Abodu, Cover, and Dvele, so if your project involves multiple structures on one lot, we’re prepared.
Written by Miles Hartwell, Owner, Sutton ADU San Jose at Sutton ADU San Jose, serving San Jose and nearby areas.